How to Play Classic Doom on Mac
A step-by-step terminal and package manager walkthrough for setting up classic Doom engine ports on modern macOS.
Before you start
- A stable internet connection
- Game Data Files (IWADs)
You will need
- Processor (CPU): Apple Silicon CPU (M1/M2/M3/M4) or 64-bit Intel CPU
- Operating System: macOS 14 (Sonoma) or higher
- Shell: Bourne-again shell (/bin/bash)
Playing classic Doom on modern macOS isn’t as simple as downloading a standard Mac .dmg installer. While advanced engine ports like GZDoom offer direct .dmg downloads, purist retro ports—specifically Chocolate Doom (which perfectly replicates the original 1990s DOS experience) and Crispy Doom (a limit-removing, higher-resolution variant)—often require compilation or installation via the command line.
If you want to run these source ports seamlessly on modern Mac hardware, the easiest and cleanest method is to use a package manager. This guide covers exactly how to install Homebrew and MacPorts, download your source ports, your game files, and bypass the friction points that usually trip beginners up.
Why older source port .dmg files fail on modern macOS
If you manage to find an older standalone .dmg installer for a niche Doom source port, you will likely find that it refuses to launch on modern versions of macOS. This occurs due to two major architectural and security shifts implemented by Apple:
- The Transition to Apple Silicon: Modern Macs use ARM64 architecture (M1/M2/M3/M4 chips), whereas older
.dmgsource ports were compiled strictly for Intel x86_64 processors. - Mandatory Code Signing and Notarization: To protect users against malware, modern macOS environments (Catalina and later) enforce strict security protocols via Gatekeeper. Apps distributed outside the Mac App Store must be digitally signed with an official Apple Developer ID and submitted to Apple’s automated servers for verification (a process called Notarization). Because individual open-source hobbyists build many classic Doom ports, these files are rarely signed or notarized. As a result, macOS aggressively blocks them on first launch, throwing “damaged app” or “unidentified developer” errors.
Using a package manager like Homebrew or MacPorts completely bypasses this friction by compiling or configuring the binaries directly on your machine, ensuring they are perfectly tailored to your Mac’s hardware and local security permissions.
How to get your IWAD files
You must have your IWAD files ready before launching the source port. Here is exactly how to get them from Steam, GOG, or the open-source alternative FreeDoom.
Option A: Extracting IWADs from Steam
If you purchased Doom and/or Doom II on Steam, the game is packaged for Windows, which can make downloading it on a Mac tricky.
- If using a Mac: Because Steam tags Doom as a Windows-only title, you may need to use a Windows translation layer app like Whisky or CrossOver to install the Windows version of the Steam client. Alternatively, you can log into Steam on any Windows PC.
- Install Doom or Doom II through your Steam library.
- Once downloaded, right-click the game in your Steam Library, hover over Manage, and select Browse local files.
- A folder window will open. Look for a file named exactly
DOOM.WADorDOOM2.WAD. - Copy this file and transfer it to your Mac.
Option B: Extracting IWADs from GOG (Good Old Games)
GOG provides DRM-free installers, making it much easier to extract your files.
- Log into your account on the GOG website. Purchase Doom.
- Go to your Library, click on your Doom game, and look for the Download Offline Backup Game Installers section. Download the setup file (it will be an
.exefile). - On your Mac, download a free extraction tool like The Unarchiver (available on the Mac App Store).
- Right-click the downloaded GOG
.exeinstaller file, select Open With, and choose The Unarchiver. - The tool will extract the installer contents into a folder. Open that folder and search for
DOOM.WADorDOOM2.WAD.
Option C: Downloading FreeDoom (100% free and open source)
If you do not own the original commercial games, you can use FreeDoom, a completely free, community-made set of IWADs that are fully compatible with all classic Doom source ports.
- Open your web browser and navigate to the official site: freedoom.github.io.
- Click on the Downloads section.
- Download the latest stable release zip file.
- Double-click the downloaded
.zipfile on your Mac to extract it. - Inside the extracted folder, you will find
freedoom1.wad(the equivalent to Doom) andfreedoom2.wad(the equivalent to Doom II).
How to install Homebrew and MacPorts to run Doom on Mac
You only need one package manager to configure and run your ports. The following steps will walk you through installing the essential command line tools and choosing between Homebrew or MacPorts.
Steps
Step 1 · Install the macOS Command Line Tools
Before using any package manager, your Mac needs Apple’s official command line developer tools. You do not need to download the massive Xcode app from the App Store; a lightweight terminal toolkit is all that is required.
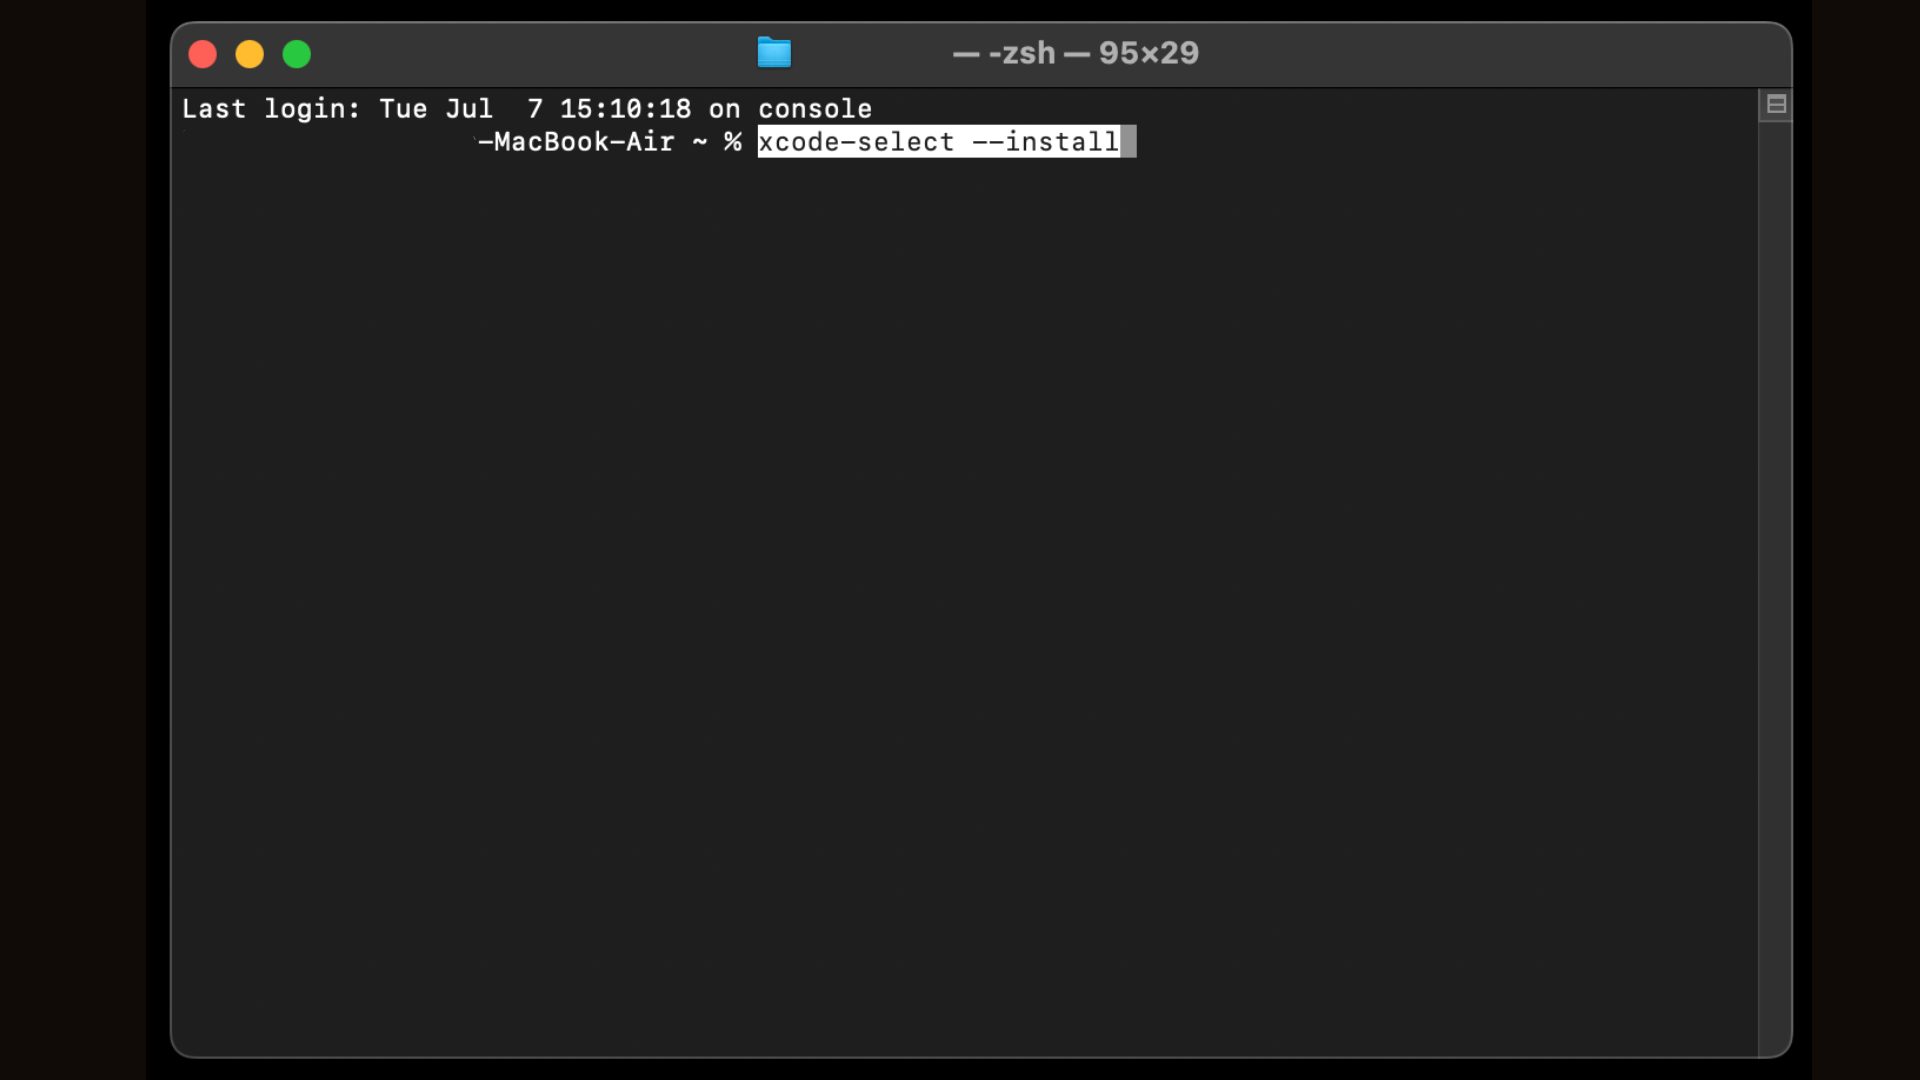
- Open Terminal by pressing
Cmd + Space, then type “Terminal” and hit Enter). - Type the following command and hit Enter:
xcode-select --install - A pop-up window will appear asking for permission to install the tools. Click Install and agree to the terms.
- Wait for the download and installation to be complete.
- Open Terminal by pressing
Step 2 · Set up your package manager (Homebrew, the easy way)
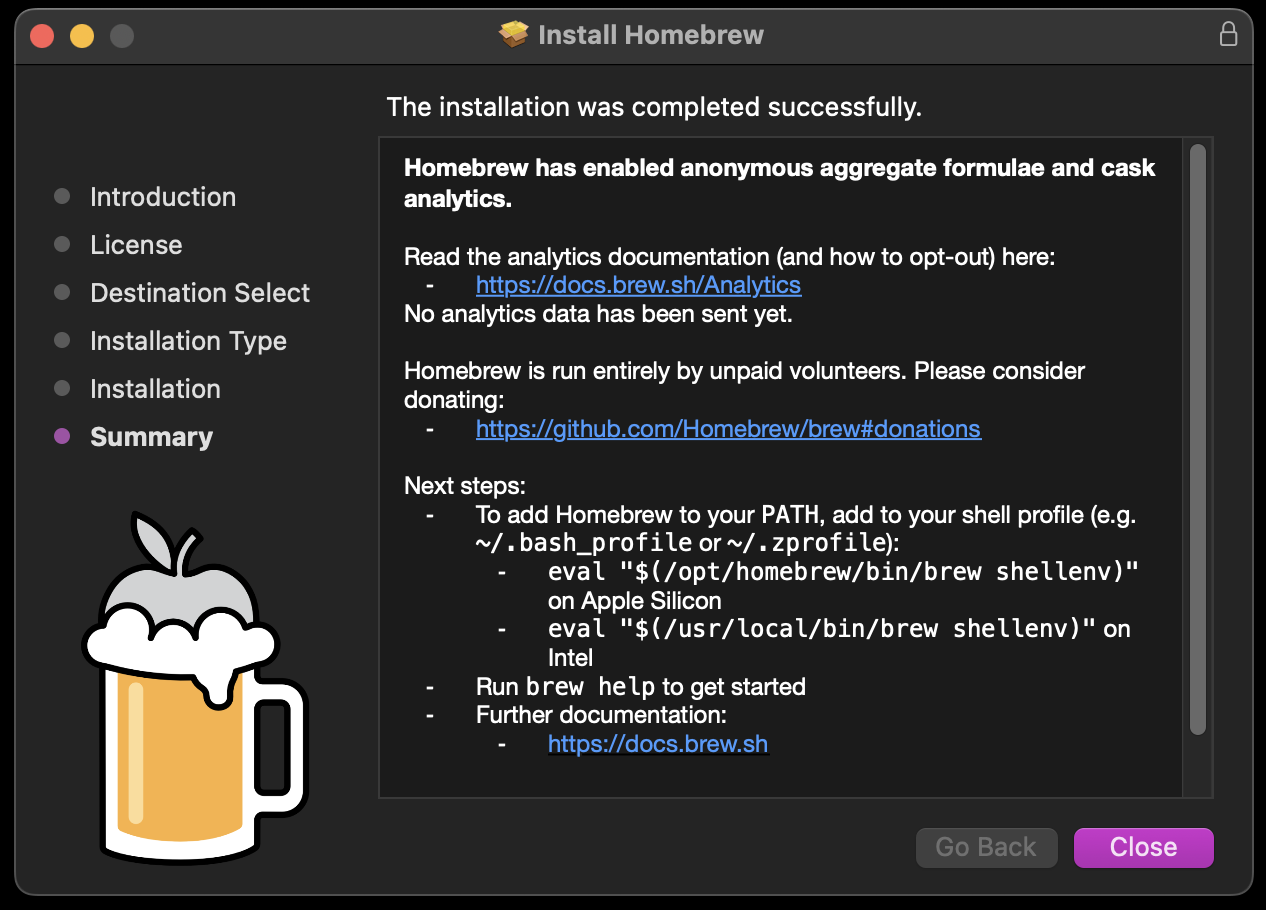
You only need one package manager to get the job done. Homebrew is the most popular choice for modern macOS. Another alternative is MacPorts. For this section, we will install Homebrew the easy way: via the
.pkginstaller- Open this Github link to download the Homebrew installer
- Do the required installation steps and wait for the setup to complete. The setup takes no more than two minutes.
Step 3 · Set up your package manager (Homebrew)
If you already finished setting up Homebrew the easy way (as detailed above), there is no need to install it again via Terminal. This section just shows an alternative way to install Homebrew via the Terminal.
- Go to the official site brew.sh to verify the latest installation script.
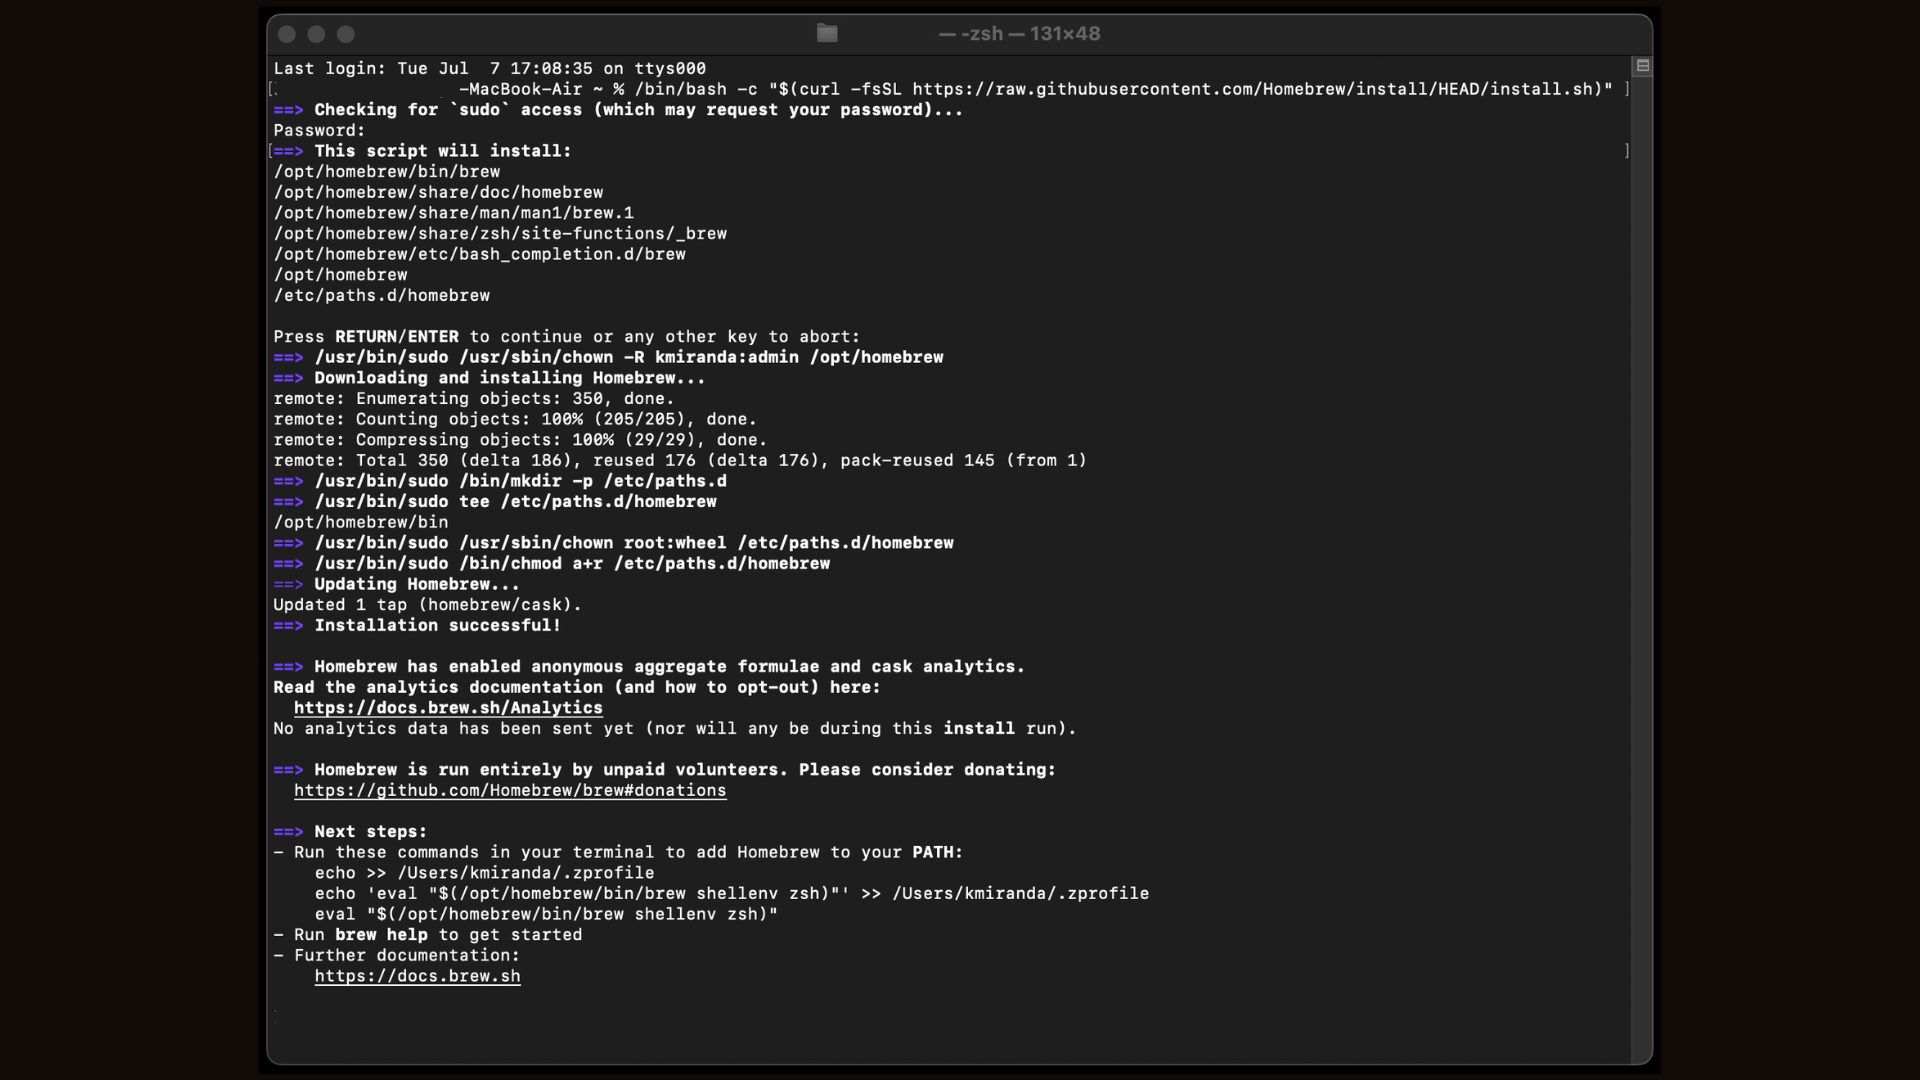
- Copy and paste the following command into your Terminal, then press Enter:
/bin/bash -c "$(curl -fsSL https://raw.githubusercontent.com/Homebrew/install/HEAD/install.sh)" -
Enter your Mac’s login password when prompted (Terminal will not show typing indicators or asterisks for passwords; just type it blindly and hit Enter).
-
CRITICAL GOTCHA: Once the installation finishes, read the section labeled “Next steps.”
-
Run the commands in your terminal to add Homebrew to your PATH. Copy and run those exact lines provided in your terminal window. If you skip this, your Mac will throw a command not found: brew error when you try to use it.
Step 4 · Set up your package manager (MacPorts)
MacPorts is an alternative to Homebrew that builds software cleanly from source. This section covers how to install the MacPorts on your macOS.
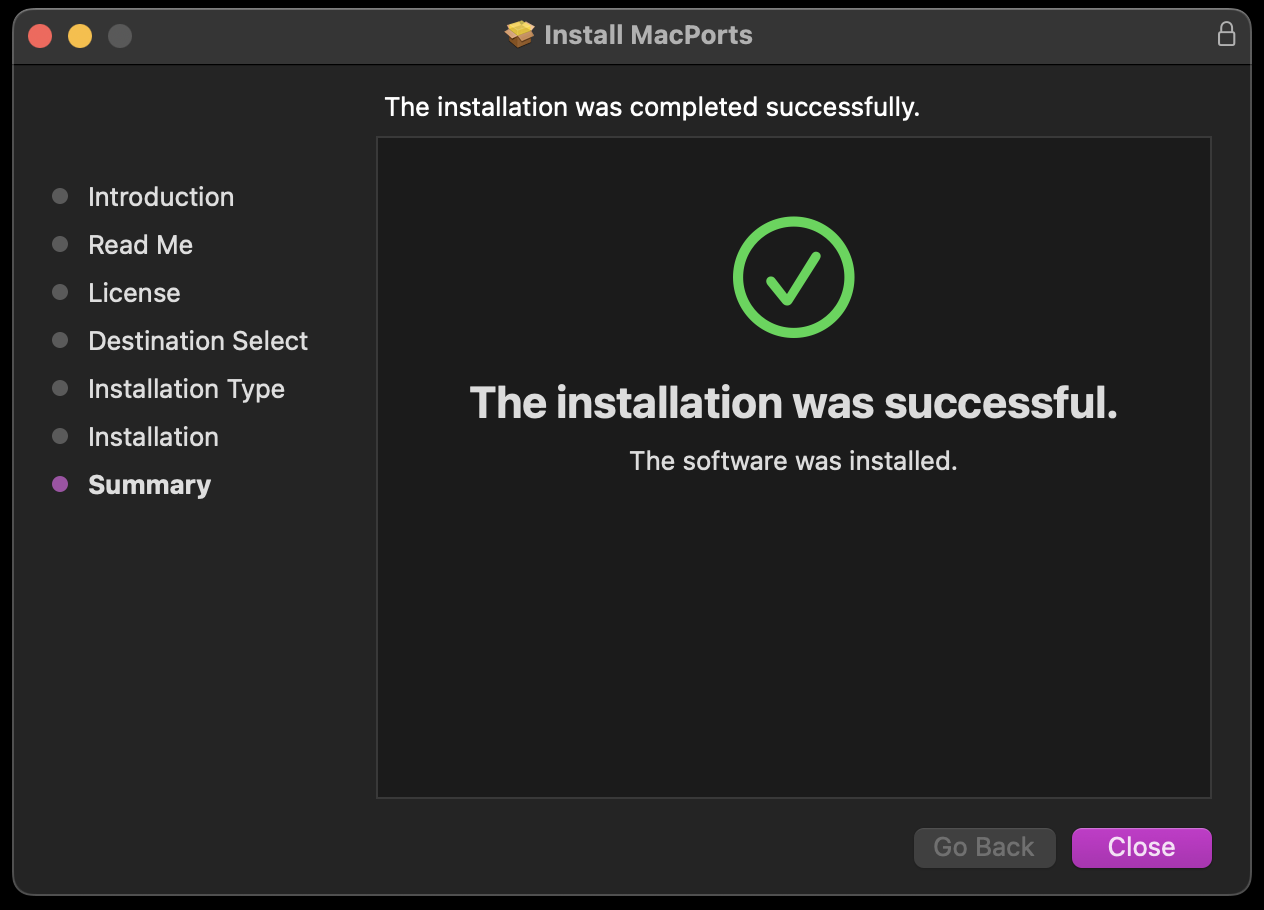
- Head to the official MacPorts site and download the dedicated
.pkginstaller corresponding to your specific macOS version. -
Run the downloaded installer package and follow the standard on-screen prompts.
- Head to the official MacPorts site and download the dedicated
Step 5 · Install your Doom source ports (via Homebrew)
With your package manager configured, installing the source ports takes only a single terminal command.
Using Homebrew:
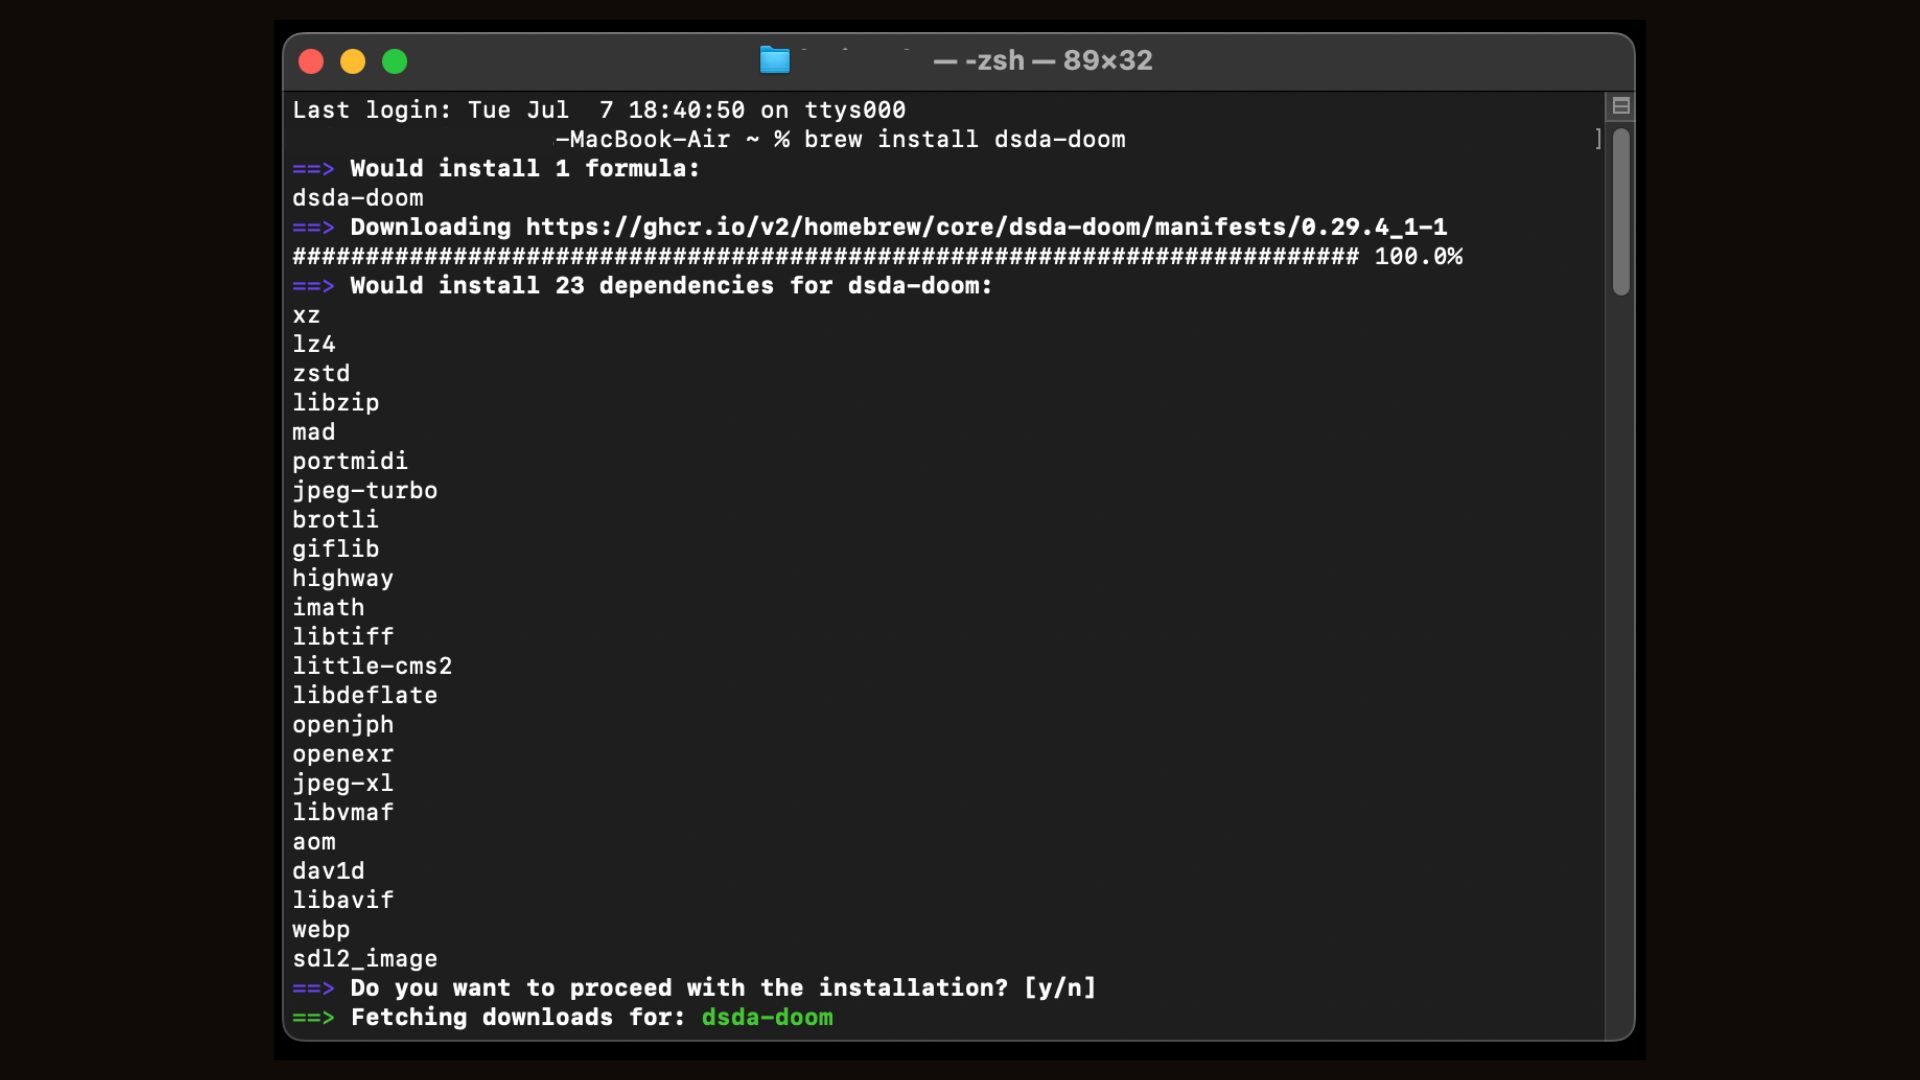
- To install Doom source ports via Homebrew, run the respective command in the terminal:
Chocolate Doom:brew install chocolate-doom
Crispy Doom:brew install crispy-doom
DSDA Doom:brew install dsda-doom
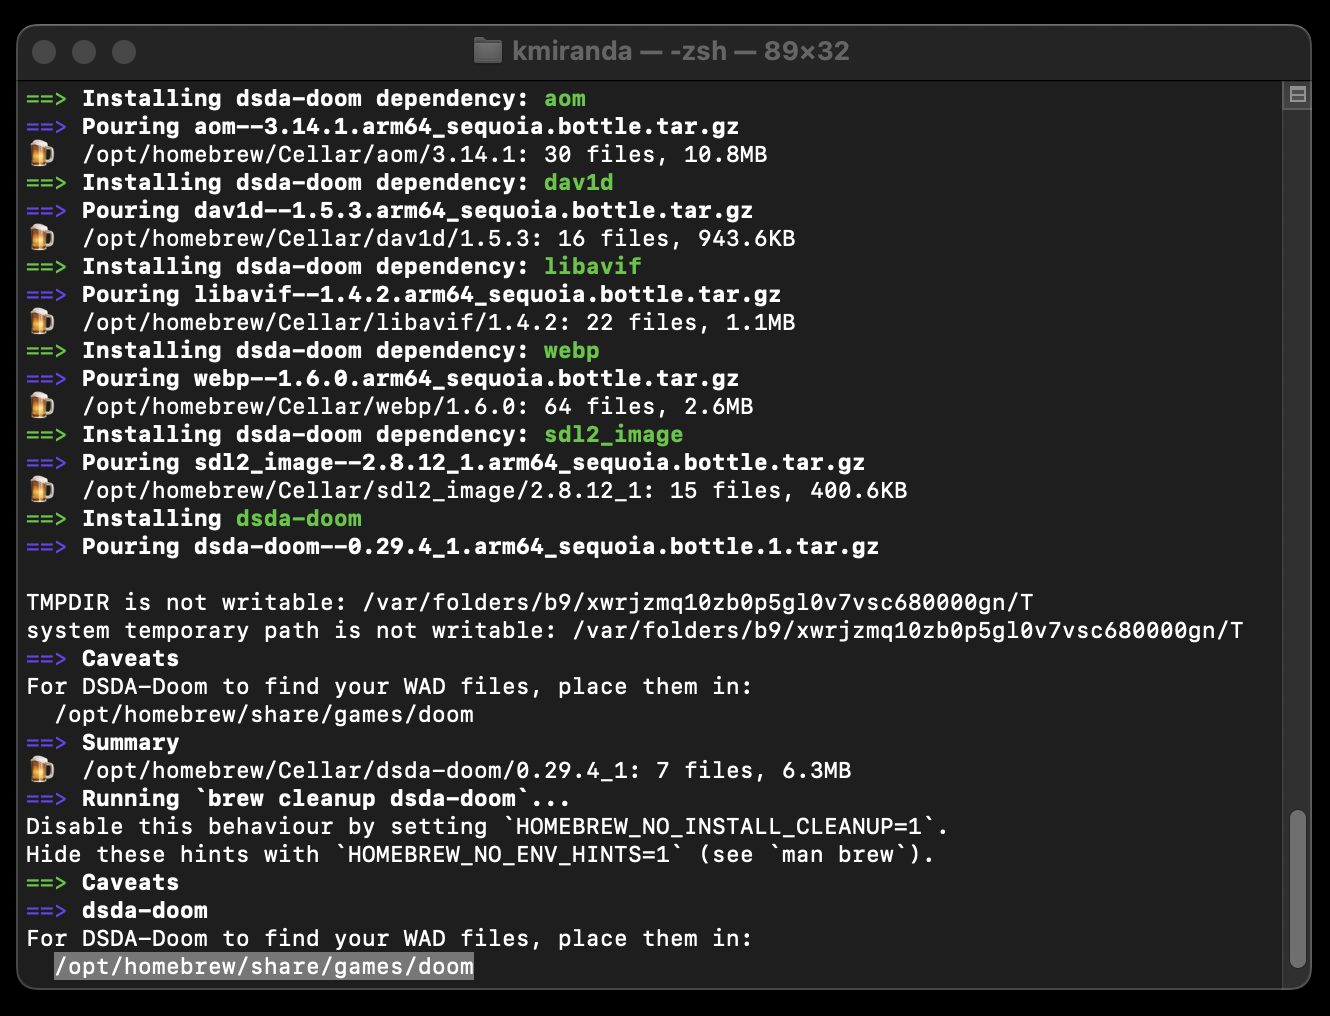
Woof!:brew install woof-doom - Look at the last line in the Terminal to see the instructions on how to locate the doom folder where you’ll put your WAD file. In the screen capture provided below, the highlighted part is the path to the Doom folder. Copy it, press
cmd+space, then paste the path, and open the Doom folder. - Copy your IWAD files in the said folder.
- To install Doom source ports via Homebrew, run the respective command in the terminal:
Step 6 · Install your Doom source ports (via MacPorts)
If you elected to use MacPorts, use the
sudo port installcommand which requires entering your Mac passwordRun the respective command in the terminal:
Crispy Doom:sudo port install crispy-doom. At present, only Crispy Doom is the available source port at MacPorts.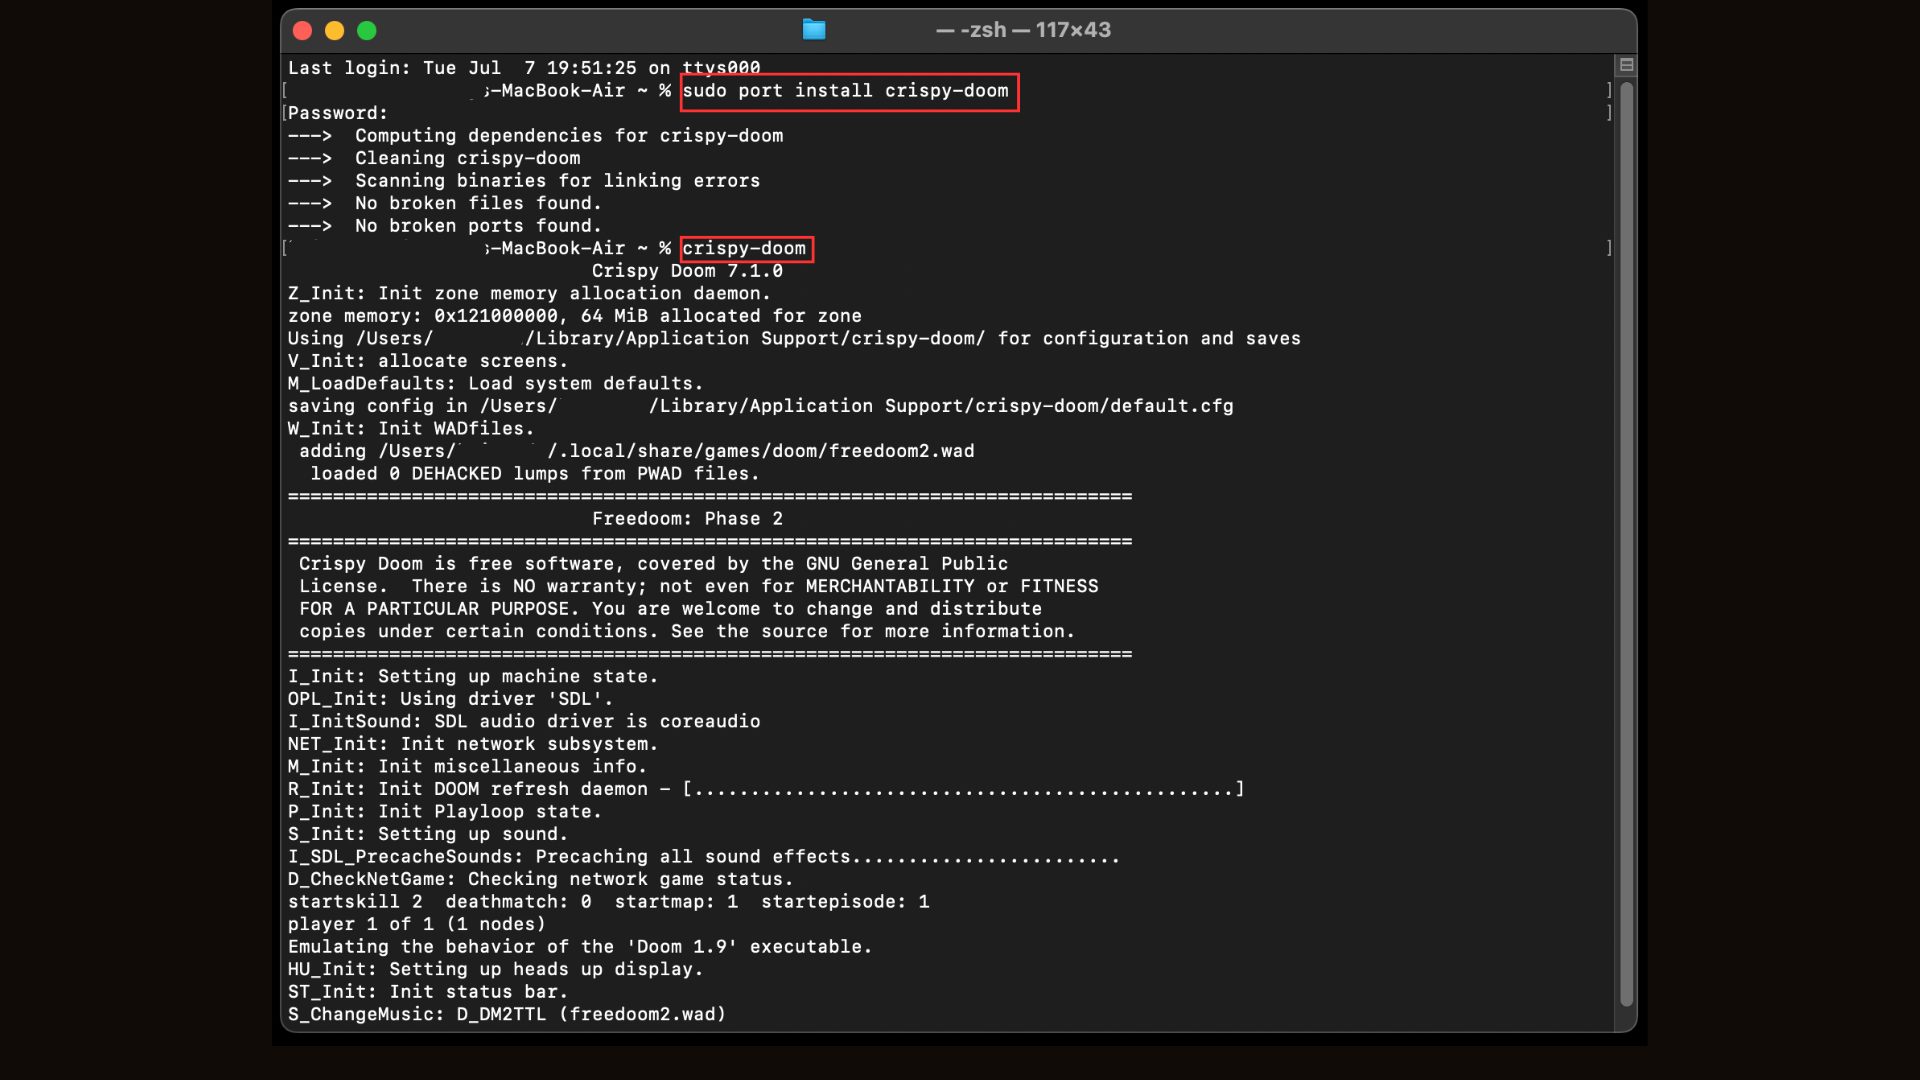
Step 7 · Where to put your IWADs
Source ports are just game engines; they do not include the actual game data. To play, you need an IWAD (the main game file, like
DOOM.WAD,DOOM2.WAD,freedoom1.wad, orfreedoom2.wad.Both Homebrew and MacPorts builds of Chocolate and Crispy Doom look for your files in a hidden system folder inside your user directory.
-
Open Finder.
-
Click Go in the top menu bar, hold down the Option (Alt) key, and click the Library folder that magically appears in the dropdown list.
-
Navigate to
Application Support. -
Inside
Application Support, create a new folder and name it exactly after the port you are using:-
For Chocolate Doom: Create a folder named
chocolate-doom -
For Crispy Doom: Create a folder named
crispy-doomand so on.
-
-
Drop your
.wadfiles directly into these folders.
-
Step 8 · Launching the game
Because these ports are installed via the command line, you won’t find a clickable app icon in your applications folder. Instead, launch them directly from the Terminal.
To start the game, simply type the name of the port (replace space with -) and press Enter. Ex:
dsda-doom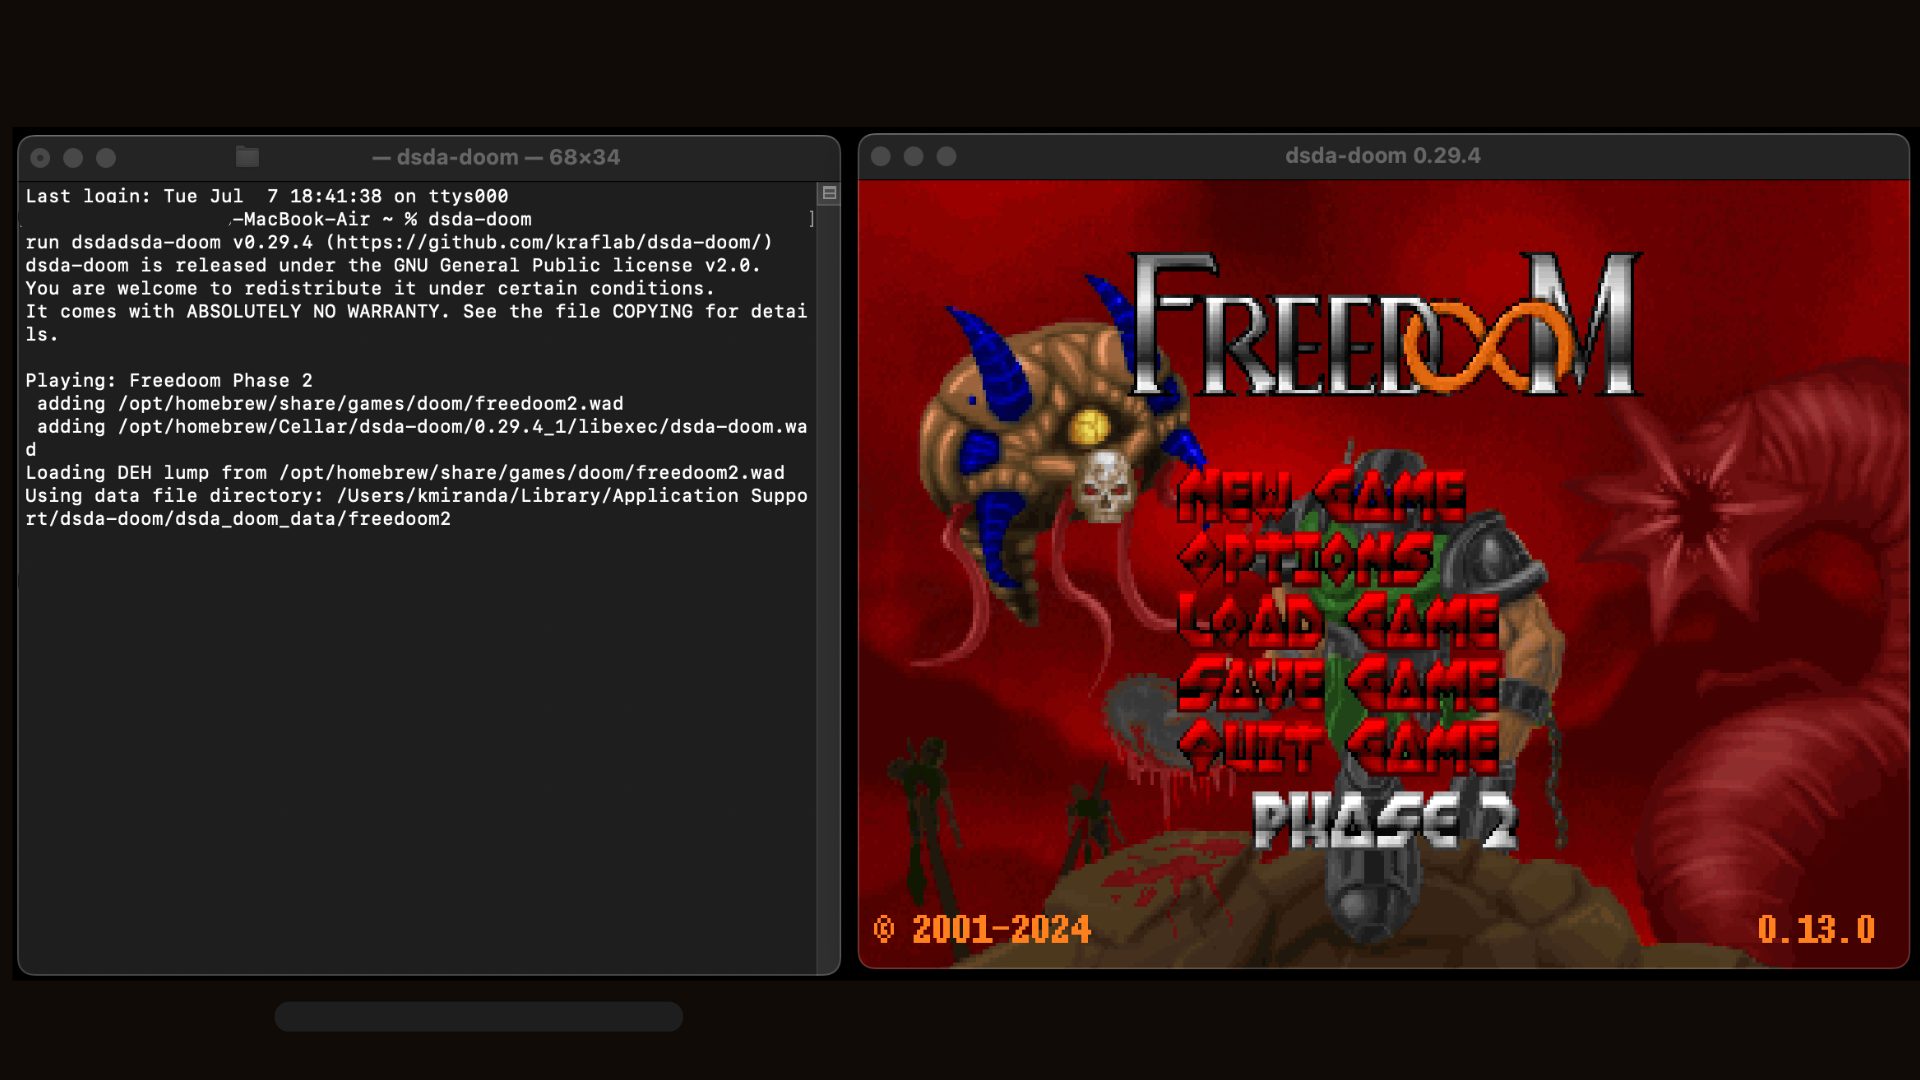
Frequently asked questions
Can I play the Steam or GOG versions of Doom natively on macOS?
No. The versions of The Ultimate Doom or Doom II sold on Steam and GOG are packaged as Windows binaries. If you purchase them on a Mac, Steam will prevent you from downloading them directly because the system tags them as incompatible. However, you can use a tool like SteamCMD, open Steam inside a Windows translation layer (like Whisky or Crossover), or log into Steam on a Windows PC to download the game files. Once downloaded, you only need to extract the DOOM.WAD or DOOM2.WAD from the game folders and move them to your Mac’s Application Support directory as detailed above.
Why can't I find the "Library" folder under my user profile?
Apple hides the user Library folder by default to prevent accidental deletion of critical application settings. To reveal it:
1. Open Finder and click on your user home folder (the one with the house icon).
2. Click Go in the top Mac menu bar.
3. Press and hold the Option (Alt) key on your keyboard. The hidden Library folder will instantly appear in the dropdown menu.
4. Click it.
What should I do if the chocolate-doom or crispy-doom folder isn't inside Application Support?
If you just installed the port, it won’t create its asset directories until you run it or its setup utility at least once. If you haven’t run it yet, you can simply create the folder yourself. Right-click inside Application Support, select New Folder, and name it exactly chocolate-doom or crispy-doom (all lowercase, using a hyphen).
Can I just create a central "Doom" folder anywhere to store all my WADs?
Yes, but you will have to specify the path every time you launch the game via the Terminal. If you put your files in a custom directory (e.g., a folder named DoomFiles on your Desktop), you must launch the game using the -iwad parameter like this: chocolate-doom -iwad ~/Desktop/DoomFiles/doom2.wad
Placing them in the default Application Support directories removes this friction, allowing the engine to find and launch your games automatically when you simply type chocolate-doom or crispy-doom.